Tuesday, February 28, 2023

Double D Challenge: Everything is Coming Up Green


It's time for another Double D challenge, friends.  March is the month of green and that's what Diane is asking for in this first challenge of the month.  Check out the inspiration board she put together for us:


When I went to my room to create I was thinking of that darling kitten in the teacup.  Well, you know how inspiration works -- one thing led to another and I ended up with the following card:


It's nothing like the picture, but definitely inspired.  I never would have come up with it otherwise.  The stamping is heat embossed in white, and the dry embossed panel was brushed with white pigment ink, directly from pad to paper.  The ric rac trim is a bit of color, cut from designer paper.  It's interesting to me how much I actually like this funny little thoroughly green card.

The Double D's have a prize for a random winner, and you know the team votes on creative favorites.


Come see what the team got up to with their delightfully green samples.  I hope you can join us at Double D with your own green creation.  Have a happy day!


Stamps:  Inkadinkado Cats, Nellie's Choice Roses Corner  Paper:  SU Green Galore, black, Mintay Lovely Day designer paper  Ink:  Versamark, white pigment ink  Other:  White superfine embossing powder, Sizzix Branches with Leaves #2 embossing folder, Paper Smooches Hello Words, Taylored Expression Ric Rac Borders

Sunday, February 26, 2023

Lavinia Bunnies in the Springtime

Hi there!  I've been playing with my Lavinia stamps again.  The deep forests and nighttime scenes are what most passionately attracted me to Lavinia, but I had it in my head that I wanted to make some brown bunnies in a spring scene this time.

In this case I stamped the bunnies first and then built the scene around them.  All inks are Stampin' Up.  The bunnies were inked in Creamy Caramel and stamped about three times using a stamp positioner.  Finally I inked their ears, feet, and tails with a Chocolate Chip marker and stamped one last time.  I made masks for the smooth rolling hills.

I'm so addicted.  Lavinia stamps have cast a spell on me.


The paper I stamped on is a metallic white shimmer cardstock purchased through Amazon.  It has a beautiful sheen for blended backgrounds so I thought it would be nice for Lavinia cards.  It is a lovely sight in person, but not easy to capture the shimmer in a photo without it looking grainy and glaring.  I can recommend it for blending, stenciling and stamping.  You can find it here.

I'm happy to share in the following challenges today:

Sunday Stamps Challenge 303:  Spring Dreaming.  Must use three colors from the graphic below.
NBUS Challenge #47.  Never before used schtuff -- All the foliage stamps are being used for the first time.


I appreciate the folks who put so much time and effort into these challenges for the rest of us.

One last thing -- It snowed 3" here last Thursday.  Our 13 and 11 yr old Wally and LuLu played in it like puppies:


A single crocus in the melting snow is a reminder that spring will prevail:


Wishing everyone a beautiful day!


The Lavinia stamps I used are:   LAV482 Whimsical Hares, LAV173 Willow, LAV741 Leaf Spray, LAV729 Woodland Fern, LAV305 Mini Leaf 1

The sentiment stamp is an oldie wood block from my stash.

Thursday, February 23, 2023

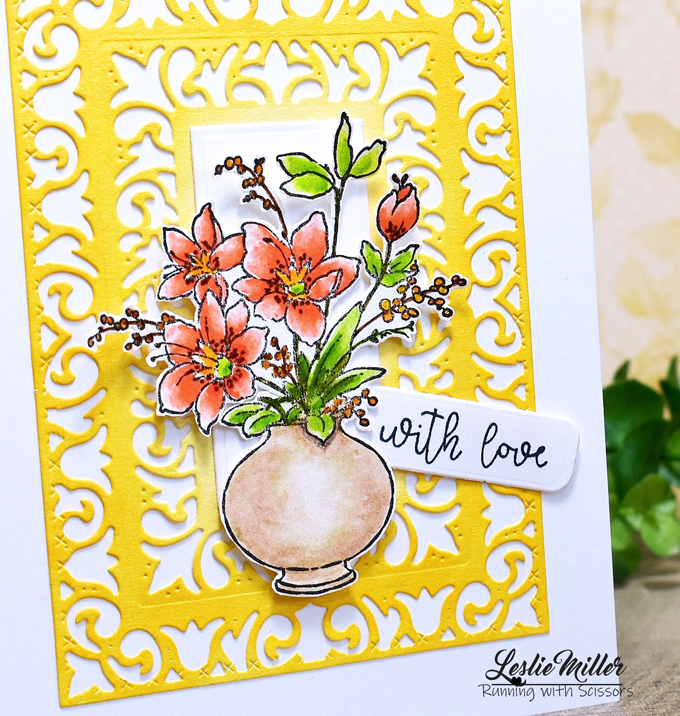
Ebullient With Love

Hello again!  Today I've come back to my Penny Black Ebullient stamp set.  I recently stamped all four images and they're ready to color and cut out.  This is #2 in the process.  It will be one less stamp set in my NBUS basket.


Coloring was done with my trusty Tombow markers and blender.  The blender is a blank Copic marker filled with a homemade blender solution.  I've linked to it many times, but here it is again:  Homemade blender.  Mostly I like to apply some color with a marker, then dab at the edges with the blender.

The die cut background was pulled from my spare parts -- an experiment from quite some time ago.  It's a combo of older die sets, brushed with ink.  Not perfect, but usable.  


I'm playing along in another favorite challenge today:

Penny Black Saturday Challenge -- Optional hearts and/or flowers


I sure do appreciate your visit today.  It's been fun!  Have yourself a good weekend and we'll get together again next week.  Take care!


Stamps:  Penny Black Ebullient, Penny Black Peaceful Time (for sentiment)  Paper:  Fabriano Artistico Extra White 140 lb hot press watercolor, Neenah Classic Crest Super Smooth Solar White  Ink:  Palette Noir, SU Summer Sun  Coloring:  Tombow markers with homemade blender solution in empty Copic marker  Other:  Cheery Lynn Dutch Daisy Boutique Stacker A2 Frame, Spellbinders Fancy Framed Tags One for sentiment, other long rectangle die

Monday, February 20, 2023

Meet The Boos

Hi all!  I suddenly felt like making a Halloween card due to inspiration from the Two Old Bats year 'round Halloween challenge.  I know!  This is what happens when I'm stamping on a whim.  I'll have flowers later this week.  It's all good fun!

This card was a quick make with a stamp from the previous century and a paper pad from last year.


With this being the month of hearts and love the Two Old Bats have an inspiration board full of it.  I thought it was clever how they put it together.

Two Old Bats Halloween Challenge


Thanks, Two Old Bats!

That's all folks!  Have a happy day and I'll see you later!


Stamps:  DJ Inkers The Boos  Paper:  Neenah Classic Crest Super Smooth Solar White 110 lb, DCWV Happy Halloween mat stack  Ink:  Memento Teal Zeal, Copics for coloring  Other:  Rhinestones, corner rounder punch for sentiment tag, Tutti Stitched Nesting Hearts, dimensional foam dots

Friday, February 17, 2023

Folk Art Flowers and Bird

Hi!  Checking in today with a card that happened while I was busy doing other things.  I had embossed a panel and set it aside for another day, and the next thing you know I was coloring it.  As I went along I realized how folk artsy it looked in these colors, so I continued along those lines the best I could as I finished the card.


The embossing folder is a 3D by Creative Expressions called Fanciful Flowers.  I used Copics for coloring.  No extra skills needed other than a relatively steady hand and a strong pair of glasses.  I made a point of using hearts because they seem to show up a lot in folk art.  The particular bird die I used is the most folk artsy one I own.  It's years old and I still love it -- Elizabeth Craft Birds.

I embossed the card base and the hearts with the retired SU Subtle embossing folder.  It shows up a lot more in real life.  To avoid excess busyness I did not add color to the branch, but there is a layer of black underneath to help it stand out.  By the way, all the white is actually a gentle vanilla shade, including the embossed sentiment.


One of my favorite challenges is celebrating their first birthday/anniversary this month:

Can You Handle the Pressure?  It's all about using embossing folders.  Anything goes with an optional twist of hearts and, as you can see, I did use the twist.  What fun when it all works out like this!


Now, back to being busy doing other things... but I'll see you again soon.  Take care and have a happy weekend!


Stamps:  Hero Arts Small Greetings  Paper:  Cougar Vanilla, SU Wild Wasabi and Poppy Parade, other black & yellow  Ink:  Versamark, Copics for coloring  Dies:  Elizabeth Craft Birds, Tutti Stitched Nesting Hearts, Poppystamps Sylvan Sprig  Other:  Vanilla embossing powder, Doodlebug Matte Sprinkles, Creative Expressions Fanciful Flowers 3D embossing folder, SU Subtle 3D embossing folder

Tuesday, February 14, 2023

Double D Challenge: Birds


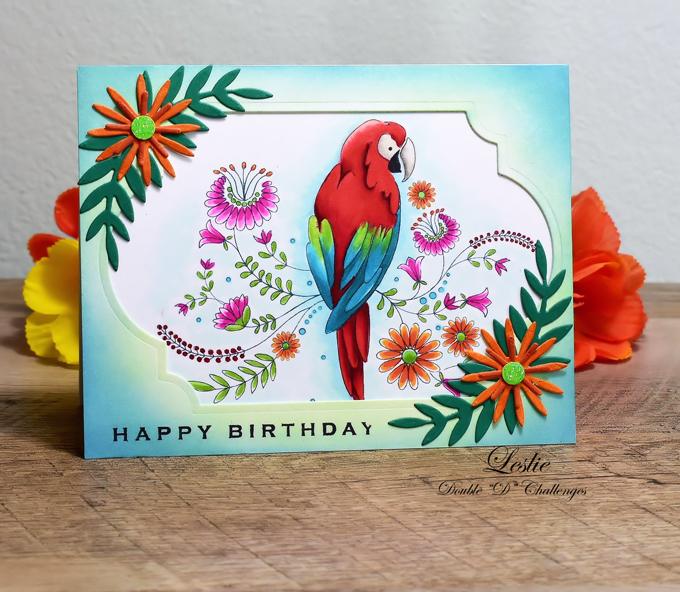
Hello my crafting friends!  It's time for another Double D Challenge and this time Darlene is asking for birds.  Have a look at the beautiful inspiration board she put together for us:


Those parrots pulled me straight to my digi box where I had an image from All Dressed Up printed and ready to color.  It sat there for a long time because I was confused as to where the wings are exactly.  I could make myself crazy... so I decided to just color whether accurate or not.  Seems like I've been hyper-critical of myself lately, sigh...  Nevertheless, I like the overall look of the finished card.


Colored with Copics on Neenah white.  The frame is the negative left from cutting mats for Christmas cards last year.  I glued two together and brushed with inks -- light green and blue.  You barely notice the green in this photo, but it's there.  Added some funky flower die cuts to go with the stylized image.  I did have fun with it!

There's a pretty prize up for a random winner.  Creative winners are chosen with great difficulty by the team.  I love birds so I know I'm going to enjoy the gallery for this challenge.


Check out the Double D blog for more info and to see the team's fun and fabulous samples.  I hope you'll have time to play!


Stamps:  All Dressed Up 'Summer Bird' digi, SU 'It's Your Birthday' sentiment  Paper:  Neenah Classic Crest Super Smooth Solar White 80 lb  Ink:  SU Gable Green and Taken With Teal (frame), Glorious Green (leaves), Pumpkin Pie, Tangerine Tango, Green Galore (flowers), Memento Tuxedo Black (sentiment)  Coloring:  Copics  Dies:  Spellbinders Labels 28, Heartfelt Creations Delicate Asters, Dee's Distinctively Sm. Pair of Leaves  Other:  1/4" circle punch, Stickles Stardust glitter

Thursday, February 9, 2023

A Valentine Note

Hi there!  How about another Valentine today?  I believe I mentioned I was having a lot of fun with them.  However, by the time I was done I was breathing a sigh of relief.  It's hard for me to stay on one card-making subject for too long.

This card was made with a Marianne's Designs stamp and die set called Typewriter.  I adore the set.  It has lots of sentiments and the dies are simple.  It's an oldie, but I've only used it once before (if memory serves correctly).  The little envelope is from the Cottage Cutz Puppy Love Letter die set I used recently.


The framing mats are a combination of unrelated dies which I've listed in the recipe.  They appear as though they belong together.  Sweet and pretty designer papers.  You know how I love my papers and the Valentines have prompted me to have a nice stroll through my paper cupboard.


I'll be moving on from the Valentines now, but I've sure enjoyed them.  We're all just crafters having a good time, right?

Take care of yourselves and have a happy day!


Stamps:  Sentiment from Marianne Designs 'Typewriter' stamp and die set  Paper:  Neenah white 80 & 110 lb, SU Pink Pirouette, mix of older designer paper  Ink:  Memento Tuxedo Black, Pink Pirouette to sponge typewriter edges  Dies:  Marianne Designs 'Typewriter', Lawn Fawn Outside In Stitched Scalloped Rectangle Stackables, Taylored Expressions Stitched Rectangle Stacklets, envelope from Cottage Cutz Puppy Love Letter  Other:  Pink rhinestones, Fiskars scallop paper edgers (scissors)

Monday, February 6, 2023

Cups of Love

Hello and welcome to another week on the blog.  I'm not sure if I'll have anything other than Valentines this week seeing as how every available crafting moment has been spent on them.  I would love more crafting moments, but there's always a lot of starting and stopping, getting called away, running off to do other things, sigh.  The two cards today were finished over a matter of days.

The first is a Valentine for my one and only sweetie.  Part manly, part feminine, his cup and mine, together forever.  I used a new-to-me Cottage Cutz die set called Cup of Love.  It's paired with Tutti Stitched Nesting Hearts.  Cute paper and ribbon.  I know -- ribbon!


I cut on watercolor paper and colored with Tombow markers.  I love that teensy bird.


There are a lot of parts to this die set and by the time these two cards were done I'd used all of them.  There are so many ways you can mix it up.  The next card is for a friend.  I've also used a heart punch, Spellbinders Scored and Pierced Rectangles, and Poppystamps Heart Sprinkle Sash -- mostly older dies that still get a lot of love from me.


When I was working with this die set -- coloring parts, picking up with my sticky tool, moving things around with my pokey tool, fitting and gluing everything together -- I was reminded of guys with their model cars, ships, airplanes or whatever.  It's the same deal, but with paper.  I liked that idea.


Since my Cottage Cutz Cup of Love die set is brand new-to-me and used for the first time I'll pop one of these cards over to Darnell's NBUS Challenge #47 where it's all about using the "never before used schtuff".  Thanks, Darnell!


I hope you're having a good day wherever you are and whatever you're doing.  Love you much!