Wednesday, December 19, 2018

Double D Challenge: Let it Snow! Let it Snow! Let it Snow!

Welcome to another Double D challenge!  I'll admit I get a little excited when it snows, but that's because it happens so seldom here and then it melts away quickly.  Whether you love snow or not, it does make a pretty winter card, so we're hoping to see plenty of it in our Double D Challenge -- Let it Snow!  Let it Snow!  Let it snow!

I've used a Stamping Bella stamp called Frida Loves Frosty and a Power Poppy Nice Things to Say sentiment.


Here's our very snowy mood board:


And a snowflakey prize for a random winner:


I colored with Copic markers and added plenty of sparkle.  I'll list details in the recipe below my signature.


You'll find lots more info and wonderful team samples on the Double D blog.   Warm hugs to all!


Stamps:  Stamping Bella Frida Loves Frosty, Power Poppy Nice Things to Say  Paper:  Neenah Classic White and 110 lb white, SU Pool Party  Ink:  Memento Tuxedo Black, Copics for coloring  Accessories:  Stickles Stardust glitter glue  Dies:  Lawn Fawn Outside In Stitched Scalloped Rectangles, Taylored Expressions Stitched Rectangle Stacklets, Memory Box Stitched Circle Layers, Poppystamps Heart Sprinkle Sash

Monday, December 17, 2018

Bringing Home the Christmas Tree

Well, hello there!  It's been a week since I posted so, sheesh, maybe it's about time, you think?  Whenever I go to my room and try to be creative I end up with a big mess and very little else.  Too much holiday stuff on my mind, I guess.  This week I do have a few things to share, though, and starting off with a totally masculine Christmas card which turned out to be one of my favorites.


It was the last card I made for this year's mailing.  Sent to the father and son owner/operators of the RV park we visited over the summer and fall.  Rich loved his birthday card, so he suggested I make a similar card for them.  No need to twist my arm.  I was planning to use these dies for Christmas, anyway.

I combined Memory Box Pine Forest Frame, Impression Obsession Classic Truck, and Poppystamps Stitched Landscapes.  Cut an extra tree and put it in the back of the truck.  It took some time with layering and coloring, but I love how woodsy and festive it turned out.  More details are listed below my signature.


I'll return on Wednesday with the Double D challenge and then we'll see what happens after that.  Christmas is coming together little by little.  Wouldn't it be nice if we could put everything else on hold?  Enjoy your day!


Stamps:  Hero Arts Christmas Greetings Message  Paper:  Neenah Classic White, kraft wood grain card stock, Core'dinations red, SU Very Vanilla, American Crafts Kringle and Co. designer paper  Ink:  SU Chocolate Chip (sentiment), Copics for coloring truck and green tree  Accessories:  Stickles Stardust glitter glue  Dies:  Impression Obsession Classic Truck, Memory Box Pine Forest Frame, Poppystamps Stitched Landscapes

Monday, December 10, 2018

Quick and Simple Ornament Cards

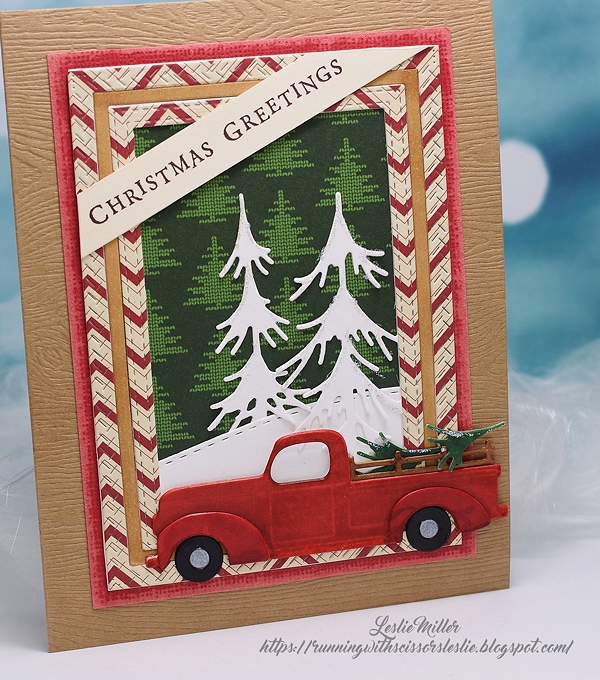
It's only 15 days till Christmas and I just this weekend finished the last of this year's cards and decorated the house.  I also made the annual Shutterfly photo book and calendar and did a bazillion other things (whew).  I'm running later than usual.  There's always a point at which the frazzle goes away and the fun begins, and I'm just about there.  How about you?

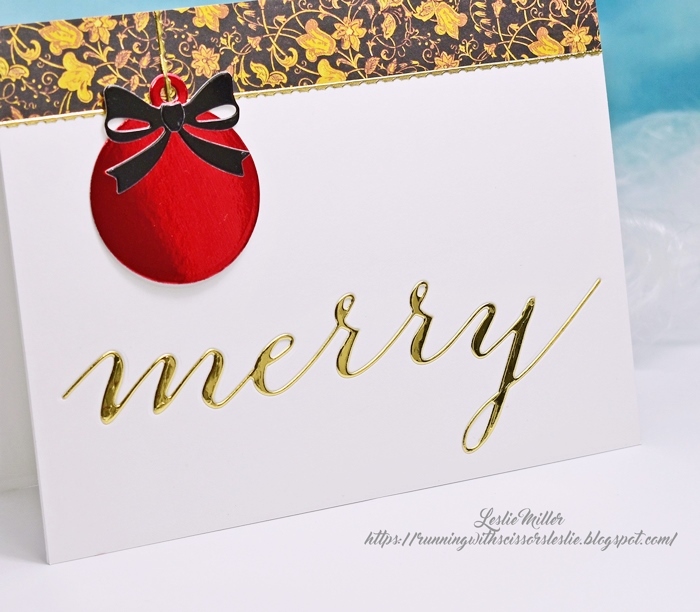
I have more CAS assembly line cards today.  Four of these with gold and red mirror card stock, glossy black bow, gold trim, and a little bit of non-Christmas designer paper.


A long, skinny die like this "merry" can make you crazy, trying to get it straight... glue on your fingers, pulling it every which way, grrrr.  Easy solution:  I cut it into a white panel first, then set the gold "merry" into it.  Slipped right into place.  Also, I drew a light pencil line on the card stock as a guide for lining up the die nice and straight.  Easily erased afterward.  Very quick cards!


However... I was then left with the four white "merrys" that popped out when I cut the negative space.  I couldn't bring myself to throw them out, so I layered two together (much more time consuming and troublesome) to make two sentiments, which I then colored with a red Copic and created two of these cards with the polka dot ornaments.


A score line helped with placement of the "merry" on this design.  Each designer paper ornament is layered onto a white ornament backing for substance.  The ornaments and bows are the quick and easy part.

The ornaments are not actually ornaments.  They're from an old set of JustRite Custom Charms.  I believe the Memory Box Merry Cursive die is retired, but the Poppystamps Prim and Proper Bow is current.  Good thing I'm not in the business of selling dies, right?

Merry merry!!


Thursday, December 6, 2018

Stitched Christmas Critters

Hello, friends!  I'm on a roll with simple die cut Christmas cards.  'Tis the season for the cards to get quick and easy, isn't it?  Today is the first of several designs for in between the coloring.

I could not resist this Stitched Christmas Characters die set.  They're so ultra-playful and fun I made nine cards -- three with each character.  I was able to cut all the dies for all three critters in one pass through my Big Shot.  Just did that three times on white card stock and my critter parts were ready to color.  First is the reindeer.


I found it easiest and most enjoyable to cut them in white, then sit on the couch with my Copics, my glue pen, and my own real life cuddly critters tucked up close.  In no time I had the die cut characters colored and assembled.

Here's the polar bear:


The parts are not so small as to be unmanageable.  Even the noses and pom poms were easy enough.  I balked, however, at the eyes.  Those were added with a black marker.   I love the fox, but I'm not thrilled with how my drawing of his closed eyes turned out.  Seems like it should have been so easy, sheesh.  Maybe next time I'll try the die cuts.


Neenah 110 lb white for the card base.  I made frames with Die-namics Wonky Stitched Squares and backed them with designer papers.  Added a snowflake with circle-punched sentiment.  The "joy" is an old SU Glad Tidings set.  It's a solid square stamp, but I almost always punch it into a circle.

It took all my control to keep from varying the designs or adding more, but I'm glad I managed.  I like them just like this.  Maybe I'm learning.  Have a happy day!


Monday, December 3, 2018

Stamping and Coloring on Vellum

I spied a challenge that prompted a simple card.  It's Back to Basics and Beyond Stamping and Coloring on Vellum.  I was curious to see how one of my new Power Poppy stamps would look with this easiest-of-all coloring.  I used the clear set, Let Your Heart Be Light.

Stamped on vellum with Versamark ink, gold embossed, and colored on the backside with Copic markers.  No tricky shading on this one, although I think it could be possible to a certain degree.  Maybe next time.


I made a frame and adhered it to the vellum with 1/4" and 1/8" Scor-tape, which solved the problem of adhesive showing under the vellum.  Backed it up with white card stock and trimmed the outer edges flush.  Added the die cut sentiment and a die cut poinsettia.  The folded card measures 6 3/4" x 3 3/4".

Inside is a gold embossed sentiment:


I liked it with the simple, pristine white.  I considered colors, designer paper, a gold die cut poinsettia, and rejected all of them.  I will say that when one chooses all white at the outset, it makes finishing up the card a very quick process.  I'll list supplies below.

Here's that challenge again:  Back to Basics and Beyond Stamping and Coloring on Vellum


Thank you so much for dropping in during this busy season.  Happy holidays!


Stamps:  Power Poppy Let Your Heart Be Light  Paper:  Neenah Classic Crest Solar White, vellum  Ink:  Versamark, Copics for coloring  Accessories:  Ranger Queen's Gold embossing powder  Dies:  Spellbinders Long Classic Rectangles, Impression Obsession Holiday Bottom Word Edgers, Poppystamps Small Blooming Poinsettia